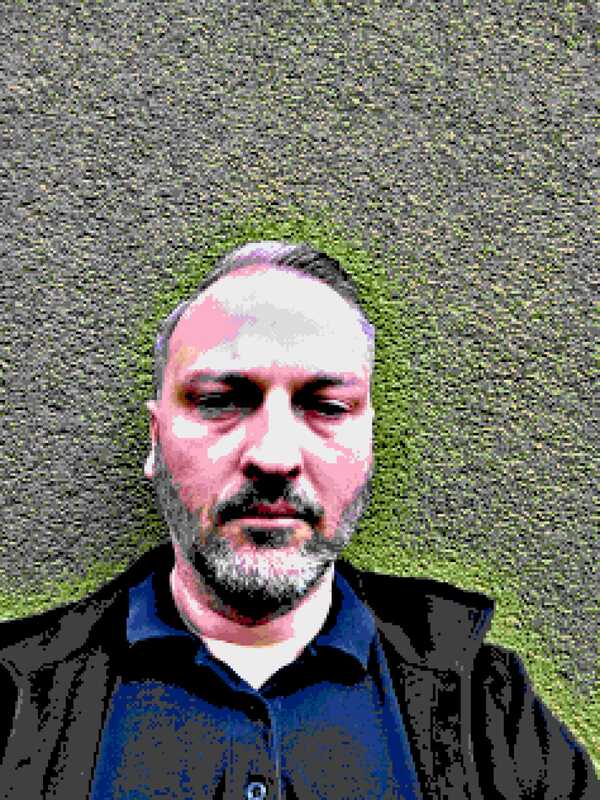
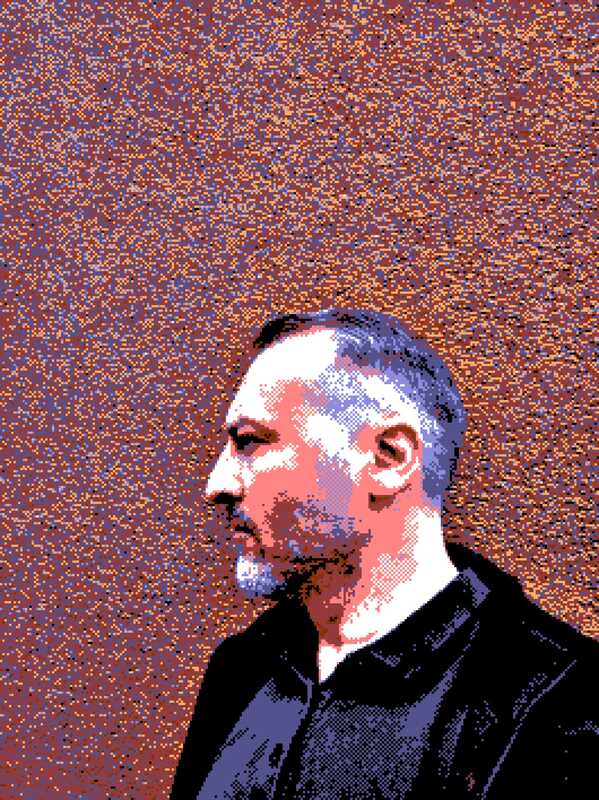
Introducing Łukasz Szałankiewicz: A Fusion of Art and Technology in the Immersive Arts Landscape8/14/2023 In this exclusive interview, we have the privilege of introducing Łukasz Szałankiewicz, a visionary artist and the newest Brand Ambassador for Zylia. Łukasz's artistic journey embarked in the early 1990s within the vibrant realm of Demoscene, where his fascination with pushing hardware boundaries laid the foundation for his boundary-breaking approach to art. Over the years, he has seamlessly blended sound and visuals to craft immersive experiences that challenge conventional artistic norms. Now, as a Zylia Brand Ambassador, Łukasz is at the forefront of shaping the audio landscape, bridging the gap between art and technology. With a rich background in the immersive arts and the game industry, he brings expertise and insight into the importance of 3D audio for younger students. As we engage in conversation with Łukasz, he discusses the exciting prospects for the future of 3D audio recording and how Zylia's cutting-edge solutions are positioned to redefine audio production.
Zylia: What is your background? Łukasz Szałankiewicz: My journey as an artist began in the early 1990s, when I immersed myself in the fascinating world of Demoscene - a dynamic computer community focused on breaking hardware boundaries. Those formative years were truly transformative, and the multimedia nature of Demoscene had a profound impact on my artistic vision. This laid the foundation for my solo artwork, where I love to combine sound with visuals and weave them into a conceptual framework to create meaningful and immersive experiences. As my art practice has grown, I have discovered my passion for exploring music, audiovisual performances and interactive installations. This allows me to combine art and technology in fascinating ways, encouraging audiences to engage more deeply. The fusion of creativity and innovation has become a defining aspect of my work, and I continue to push the boundaries of artistic expression. Zylia: How close are you to the immersive arts and game industry? Łukasz: For many years I have taught the history of video games and audio production at the non-public University "Collegium da Vinci" in Poznan. It’s a rewarding journey, sharing industry insights with aspiring interactive media enthusiasts. Exploring game improvements and nuances in audio design is fun and satisfying. The blend of theory and real-world practice ensures that students understand the complexities of this dynamic industry. Seeing the younger generation of game professionals becoming more passionate and creative is exciting. Zylia: How important is 3D audio to the young generation of students? Łukasz: Well, when it comes to the importance of 3D audio for younger generations of students, it's a bit mixed. It depends on their specific interests, resources, and field of study. Some students may love the idea of 3D sound as an immersive experience. They understand that it can create a whole new level of impact, whether in gaming, virtual reality, filmmaking, or even music production. On the other hand, not every student may have the same access or access to the technology necessary for 3D sound. It can be a bit more resource-intensive, requiring specialized tools and software. So, while some students are up to date with the technology, others may not yet have had the opportunity to explore its potential fully. Interestingly, today's younger generation is very familiar with the technology. They are familiar with advances in audio technology and often understand the difference between traditional stereo sound and 3D sound. They see how 3D sound adds depth and realism to audio, making you feel like you are right in the middle of the action. In conclusion, the meaning of 3D sound for students varies. But one thing is for sure; they show what is possible with their passion and demonstrations as they venture into this fascinating realm of audio. Zylia: What do you think is the future of 3D audio recording? What technological changes can occur or are already taking place in the industry?
Łukasz: The future of 3D audio recording holds exciting possibilities. Immersive experiences are an important process, driven by virtual reality and augmented reality. Audio technology is advancing, producing life-like sounds. Advances in AI and machine learning will normalize audio and transform sound processing. Expect improved microphone tech and software algorithms for more accurate sound captures. Overall, the future is about blending art and technology to create engaging and immersive audio experiences. Zylia: Where do you see Zylia's solutions in this global change? Łukasz: Zylia prides itself worldwide as a leading provider of 3D audio solutions, dealing with advanced hardware and software, especially in microphones. With constant international changes, Zylia's services are available in an organized manner. With the increased demand for audio reviews, their expertise in 3D audio technology makes them a key player. With superior performance in features such as digital reality and personalized audio, Zylia's solutions are ready to shape the future of audio recording and production. Their revolutionary technology can elevate the quality of audio recordings and define a new commitment to sound, significantly impacting all areas of entertainment, art and communications. As a recognized leader in 3D audio, Zylia aims to innovate and change the global audio landscape. Zylia: What are your following career plans? What would you like to do this year? Łukasz: The upcoming months will be quite a dynamic period with a lot going on. Currently, I'm working on a lecture about the history of communication in the Polish demoscene, while also sound designing a project that showcases Poznan on the Fortnite platform. Autumn is a season of various presentations and educational work, and in December, I will most likely travel to Sydney for the Sigrapph conference, where a demoscene event is taking place. And this is just the beginning. You can follow Łukasz on TikTok: https://www.tiktok.com/@zeniallo or LinkedIn: https://www.linkedin.com/in/zeniallo
0 Comments
Dear valued Zylia Community, We're thrilled to share that from the 1st of August, 2023, we're transitioning our email communication from @zylia.pl to @zylia.co. This change enhances our brand consistency and will make interacting with us easier.  Why This Change?
We aim to align our email addresses with our website domain, creating a unified and simplified communication experience for you. What's Changing for You? Nothing! Due to automatic forwarding, all correspondence sent to our old email addresses will still reach us. So you don't need to make any changes on your end. To Summarize We're excited about this change and appreciate your understanding during this transition. As always, feel free to reach out with any questions at sales@zylia.co or support@zylia.co Thank you for being a part of our Zylia journey. Best regards, Zylia Team
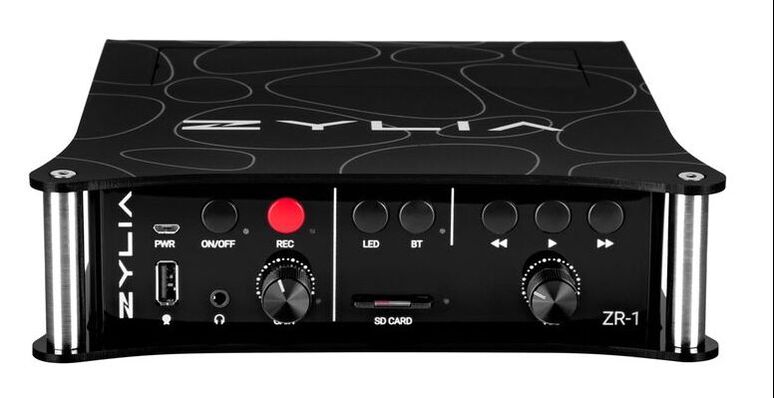
RELEASE OF ZYLIA ZR-1 FIRMWARE V1.4 – New File Naming Convention and Critical Recording Fix7/4/2023 We are thrilled to announce the latest release of ZYLIA ZR-1 Firmware v1.4 in June 2023.
New features
Resolved issues
Links:
We are excited to announce the initial release of ZYLIA Studio v1.0 for iPad. This application is designed to complement the recording process not only with the ZYLIA ZM-1 microphone array but also with any other microphone device. 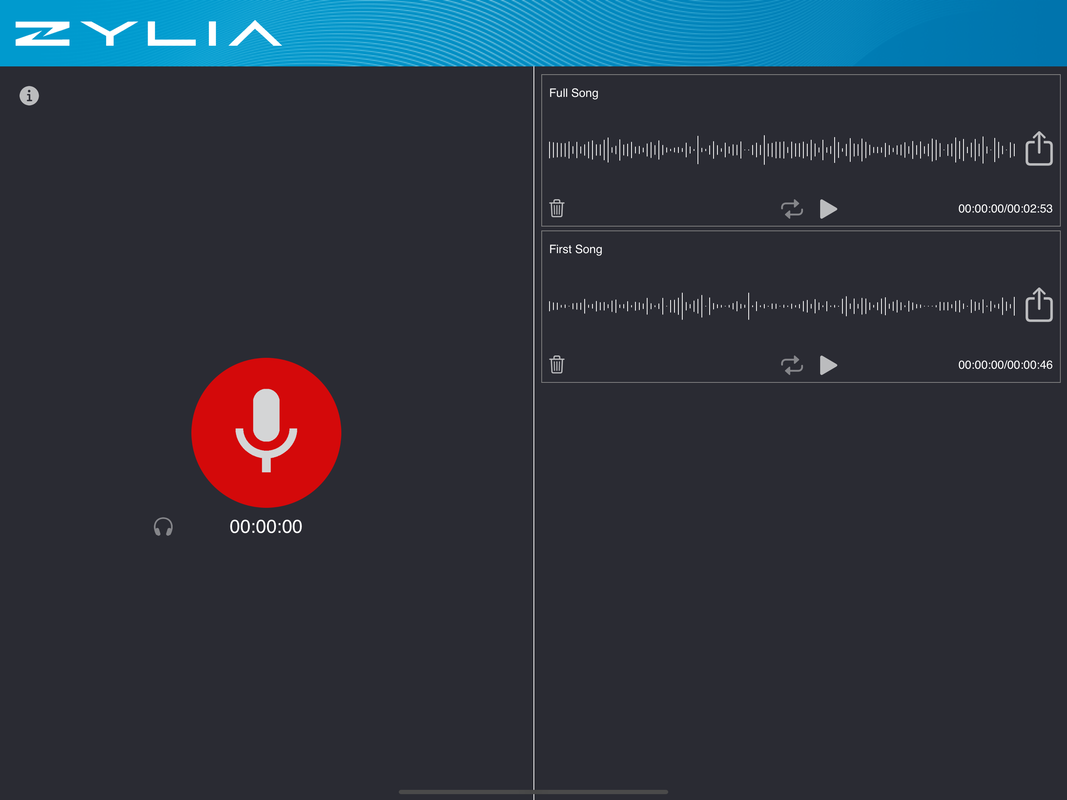 Here's what's new in this release:
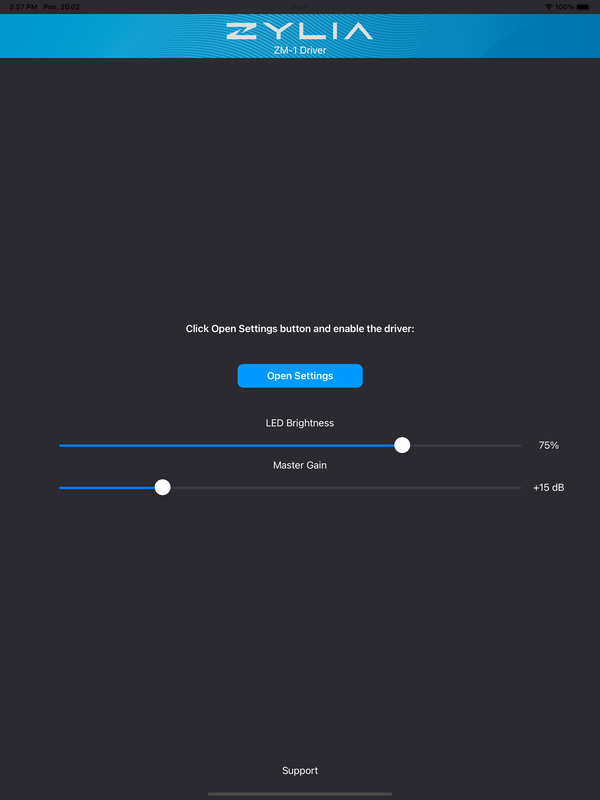
We are thrilled to announce the release of our newest ZYLIA ZM-1 driver, version 3.0, designed specifically for iPad powered by Apple Silicon CPU (M1/M2)! At ZYLIA, we believe in listening to our customers and providing tailored solutions to meet their needs. Your feedback has driven us to develop this groundbreaking driver for iPads, ensuring that you can now enjoy the exceptional audio capture capabilities of the ZM-1 Ambisonics microphone array on your favorite Apple device. 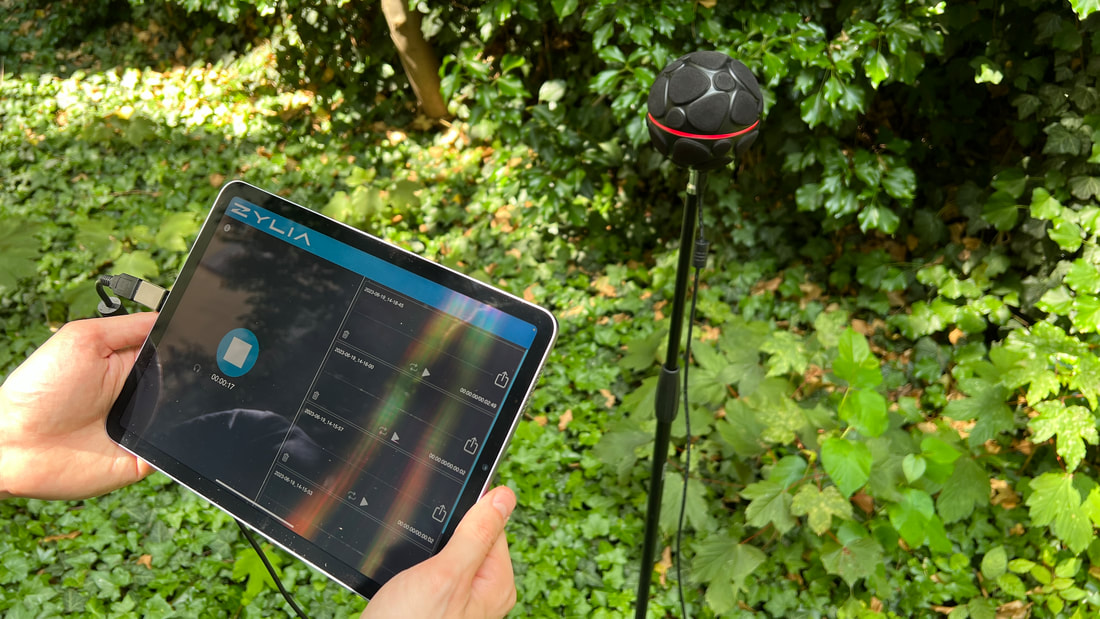 Imagine the freedom of leaving your bulky laptop behind and immersing yourself in the great outdoors while recording pristine soundscapes. The ZYLIA ZM-1 Driver for iPads empowers you to unleash your creativity without any limitations. Whether you're exploring breathtaking landscapes, documenting wildlife, or capturing the essence of natural environments, the ZM-1 and your iPad are the perfect companions. Immerse yourself in the moment, focus on capturing the perfect audio, and let the ZYLIA ZM-1 Driver for iPads handle the rest.
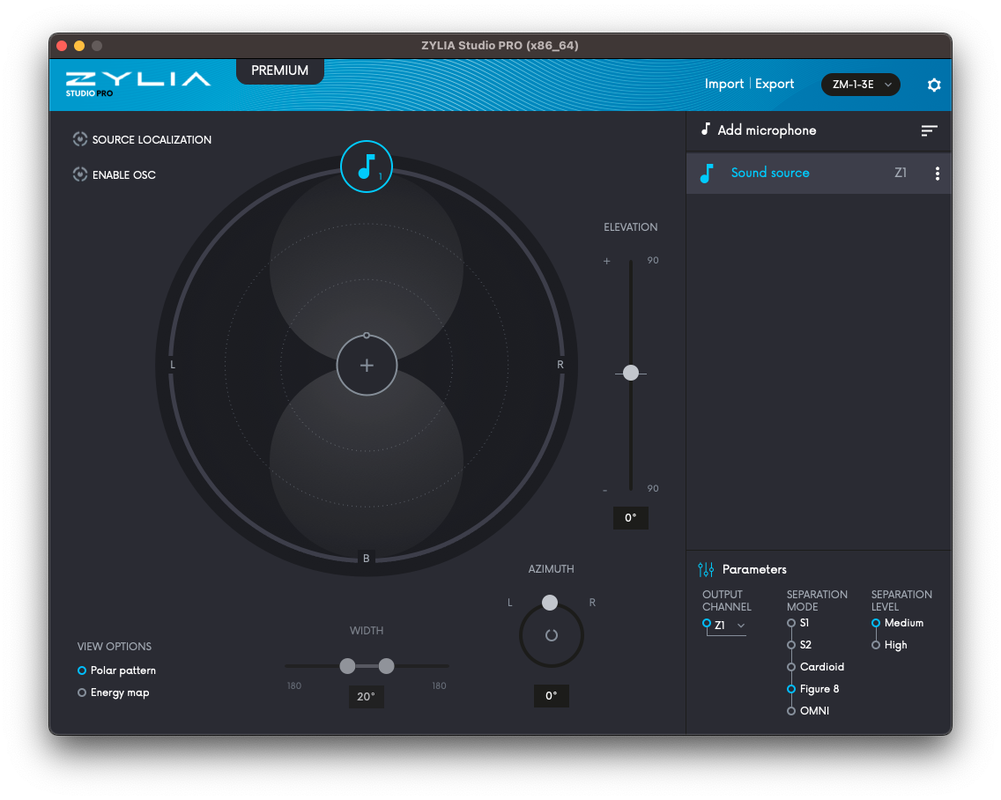
We're delighted to announce the release of ZYLIA Studio PRO v2.2.0! This latest version contains some exciting updates and additions, and we can't wait for you to experience them. Here's what's new:
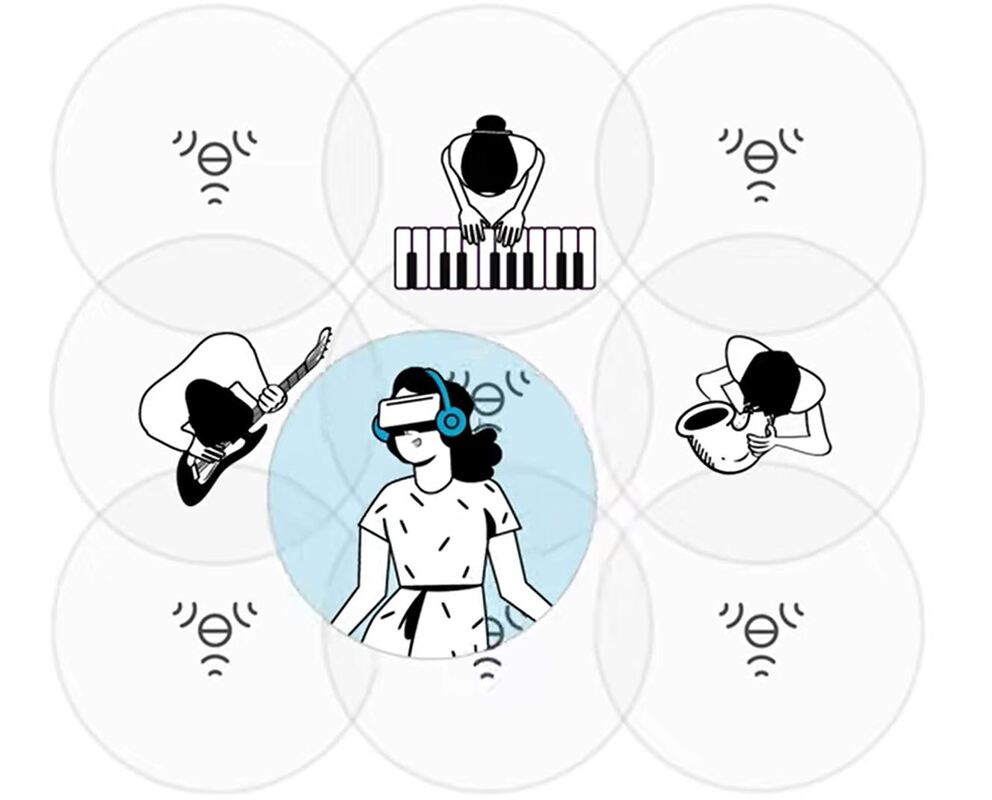
We remain committed to the continual enhancement of Zylia’s software, and we highly value your feedback. If you encounter any issues or have any suggestions for further improvements, please reach out to our support team. Thank you for your continued support, and we look forward to hearing about your experiences with these new features. We are excited to announce the release of ZYLIA Studio PRO plugin v2.1.0 - the latest version of our advanced VST/AU/AAX plugin designed for spatial filtering and signals separation in a DAW. With this powerful plugin, you can easily manipulate your audio recordings to achieve superior sound quality and create immersive 3D audio experiences that will captivate your audience. This release includes a highly anticipated feature – automatic source tracking. This innovative technology enables you to precisely track the location of audio sources in real-time, even if they move around the microphone during recording. This means that the plugin can automatically adjust the output to reflect the new location of the source, resulting in more accurate and realistic audio recordings. Additionally, this feature allows you to record the sources' trajectories via VST parameters, giving you unprecedented control over your audio recordings. 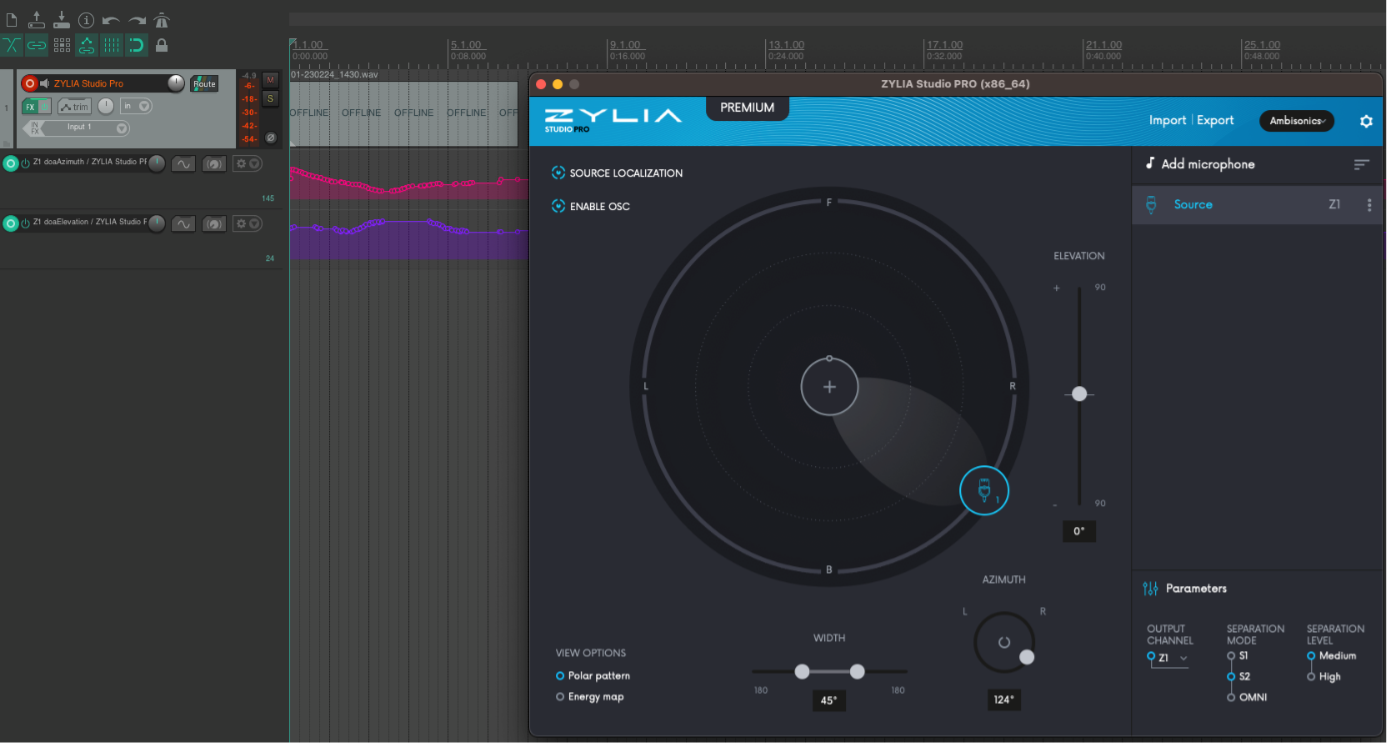 But that's not all! ZYLIA Studio PRO now also supports OSC, which allows you to use external software to control all the plugin's parameters and functions. This integration gives you even greater flexibility and control over your audio recordings, making it easier than ever to achieve the perfect sound. Experience the power of ZYLIA Studio PRO v2.1.0 and take your audio recordings to the next level. With our advanced plugin, you'll be able to create immersive and realistic audio experiences that will captivate your listeners and elevate your music production to new heights. The example project, which shows how to utilize this feature, is available >here< Volumetric audio recording is a technique that captures sound in a way that mimics how our ears perceive sound in the real world. It captures not only the level of sound (loudness), but also the location and movement of sound sources in a room or environment. This allows for a more immersive listening experience, as the listener can perceive the sounds as if they were actually in the room where the recording was made. 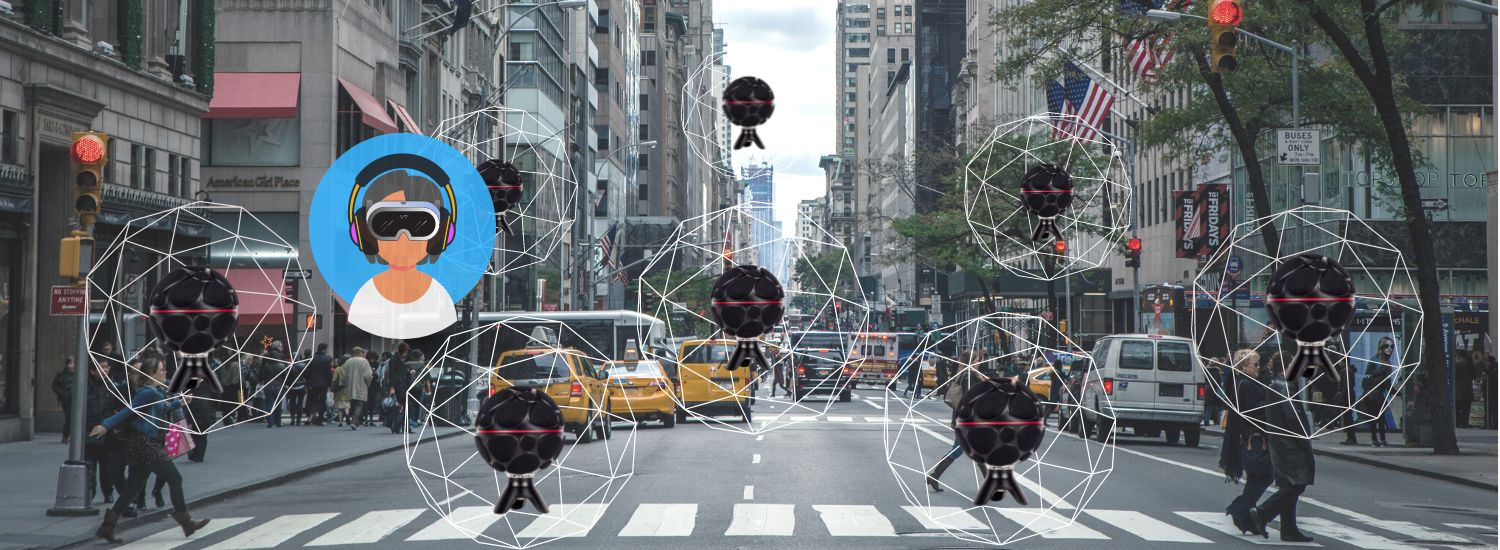 There are a few different methods used to achieve volumetric audio recording. One of them is to use a grid of multiple Ambisonics microphone arrays to capture sound from different angles and positions. Additionally, the 6 degrees of freedom (6DoF) higher-order Ambisonics (HOA) rendering approach to volumetric audio recording allows the listener to move freely around the recorded space, experiencing the sound as if they were actually present in the environment. 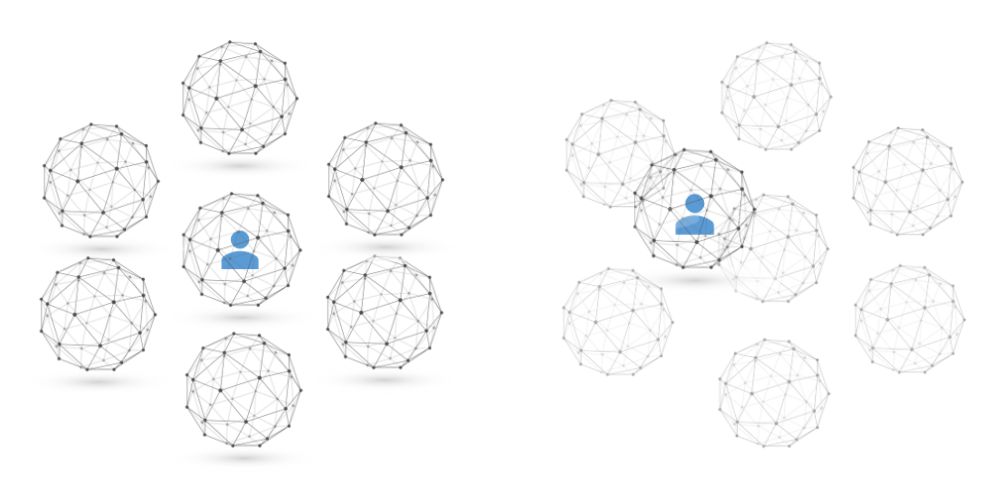
The six degrees of freedom refer to the three linear (x, y, z) and three angular (pitch, yaw, roll) movements that can be made in a 3D space. In the context of volumetric audio recording, these movements correspond to the listener's position and orientation in the space and the position and movement of sound sources. The resulting audio can be played back through surround sound systems or virtual reality technology to create a sense of immersion and realism. 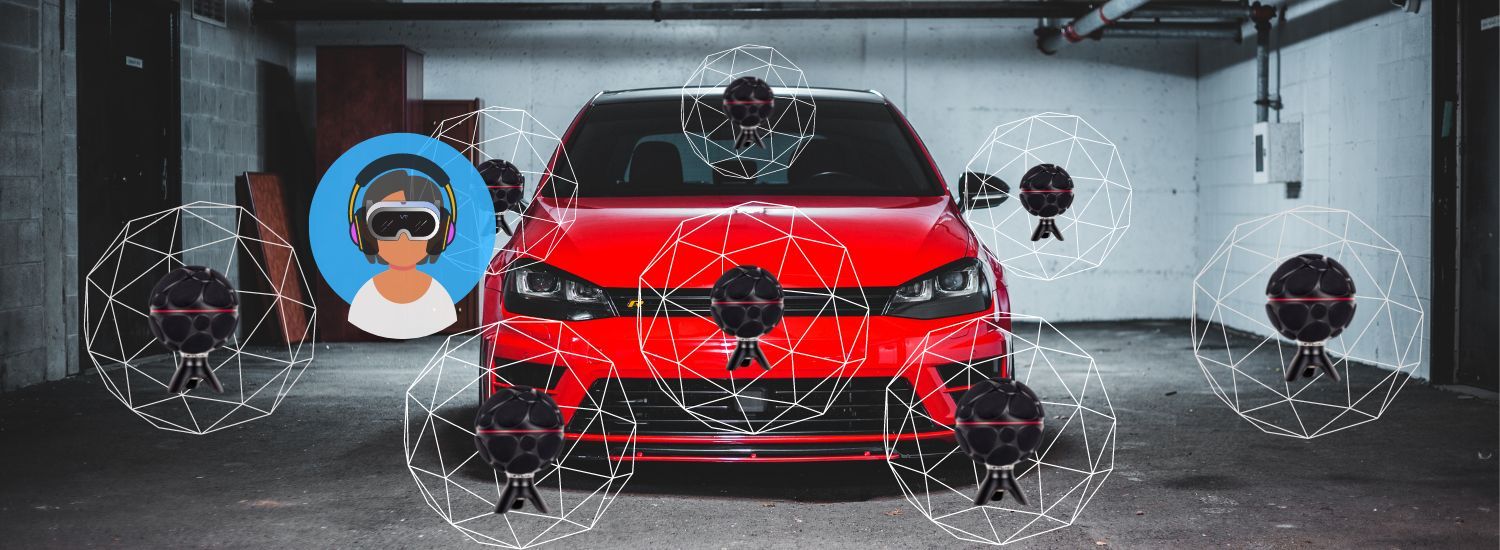 Volumetric audio recording and 6dof rendering approach is used in a variety of applications, such as virtual reality, gaming, film, television and interactive audio installations, where the listener's movement and orientation play an important role in the experience. It also allows for a more immersive and realistic listening experience, as the listener can move around the space and hear the sound change accordingly, just as they would in the real world.
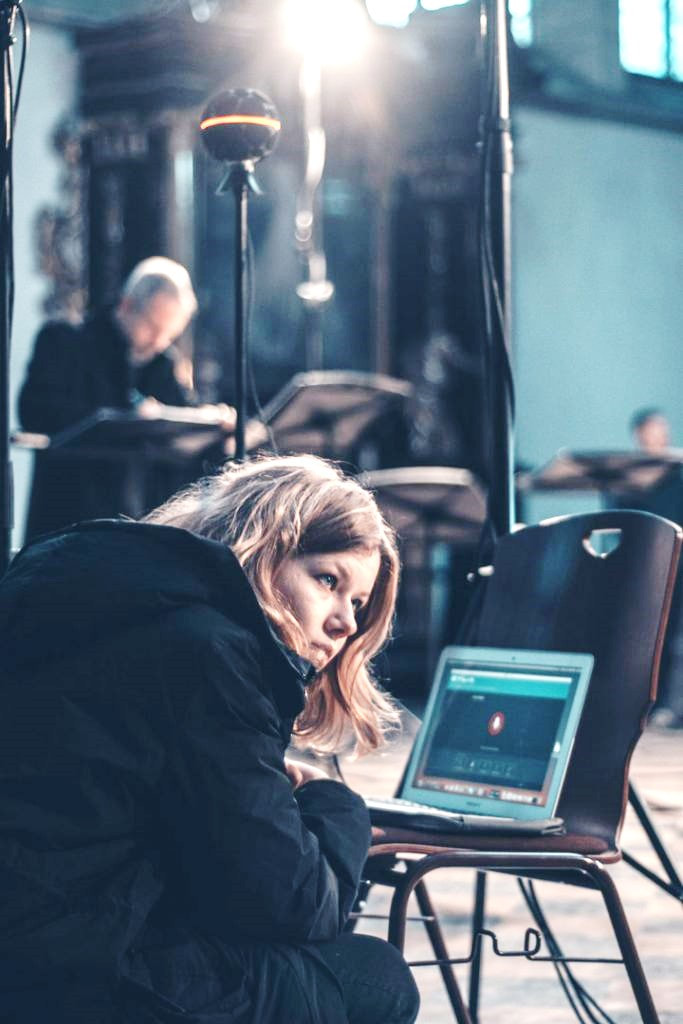
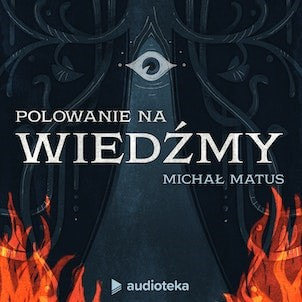
Exploring the Magic of Surround Sound with Zylia Microphone in "Hunting for Witches" Podcast2/9/2023 Podcasts are usually associated with two people sitting in a soundproofed room, talking into a microphone. But what if we want to add an extra layer of sound that can tell its own captivating story? That's when a regular podcast becomes a mesmerizing radio play that ignites the imagination and emotions of its listeners. One such podcast is "Hunting for Witches" (Polish title "Polowanie na Wiedźmy") by Michał Matus, available on Audioteka. It's a documentary audio series that takes us on a journey to explore the magic of our time. We had the privilege of speaking with the chief reporter, Michał Matus, and Katia Sochaczewska, the audio producer, about the creation of "Hunting for Witches" and the role that surround sound recording played in the production. The ZYLIA ZM-1 microphone was a key tool in capturing the unique sounds that make this podcast truly special. 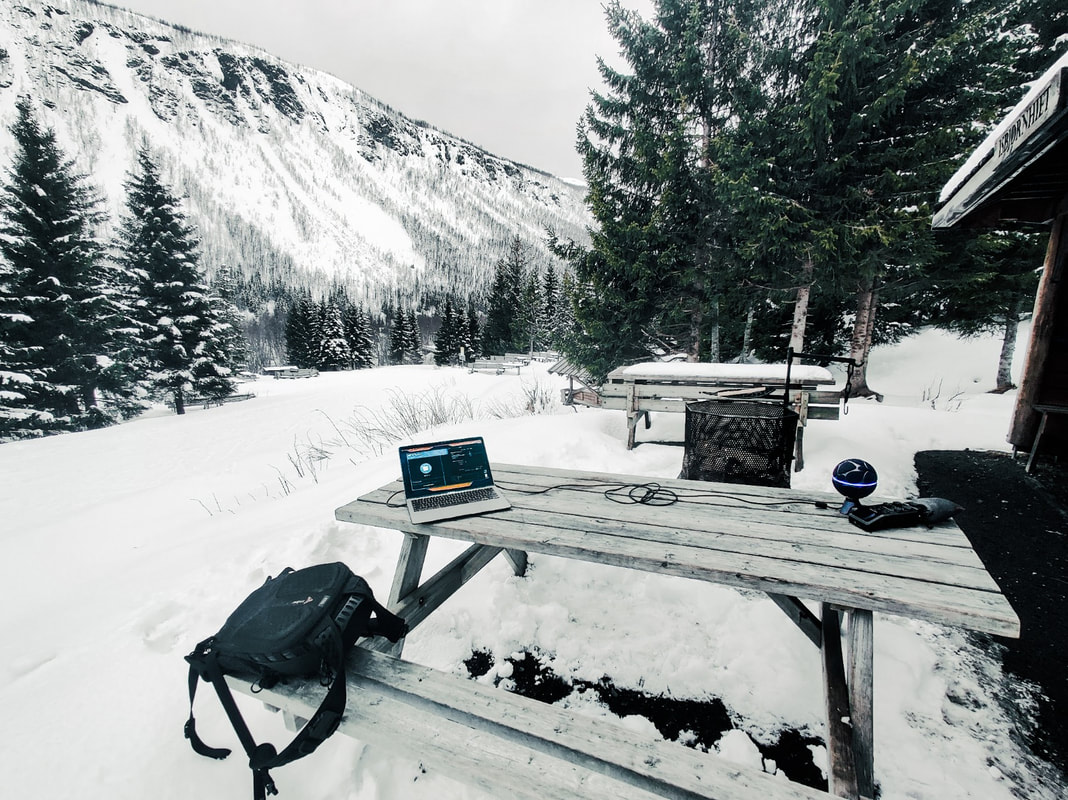 For the past year, Michal has been traveling throughout Europe, visiting places where magic is practiced, meeting people who have dedicated their lives to studying various forms of magic, and documenting the secret rituals that are performed to change the course of things. The ZYLIA microphone was with him every step of the way, capturing the essence of these magical places.
“You can hear the sounds of nature during a meeting with the Danish witch Vølve, in her garden, or the summer solstice celebration at the stone circle of Stonehenge, where thousands of pagan followers, druids, and party-goers were drumming, dancing, and singing.” "I also used Zylia when I knew a scene was going to be spectacular in terms of sound, with many different sound sources around." Michał recalls. “So, through Zylia, I recorded the summer solstice celebration at the stone circle of Stonehenge, where thousands of followers of pagan beliefs, druids and ordinary party people had fun drumming, dancing and singing. It was similar when visiting Roma witches who allowed their ritual to be recorded. All these places and events have a spatial sound that was worth preserving so that we could later recall them in the sound story.”
Want to learn more about 3D audio podcasts? |
Categories
All
Archives
August 2023
|


 RSS Feed
|
|
Connect with us |
|
© Zylia Sp. z o.o., copyright 2018. ALL RIGHTS RESERVED.
|